
Wall Mount System
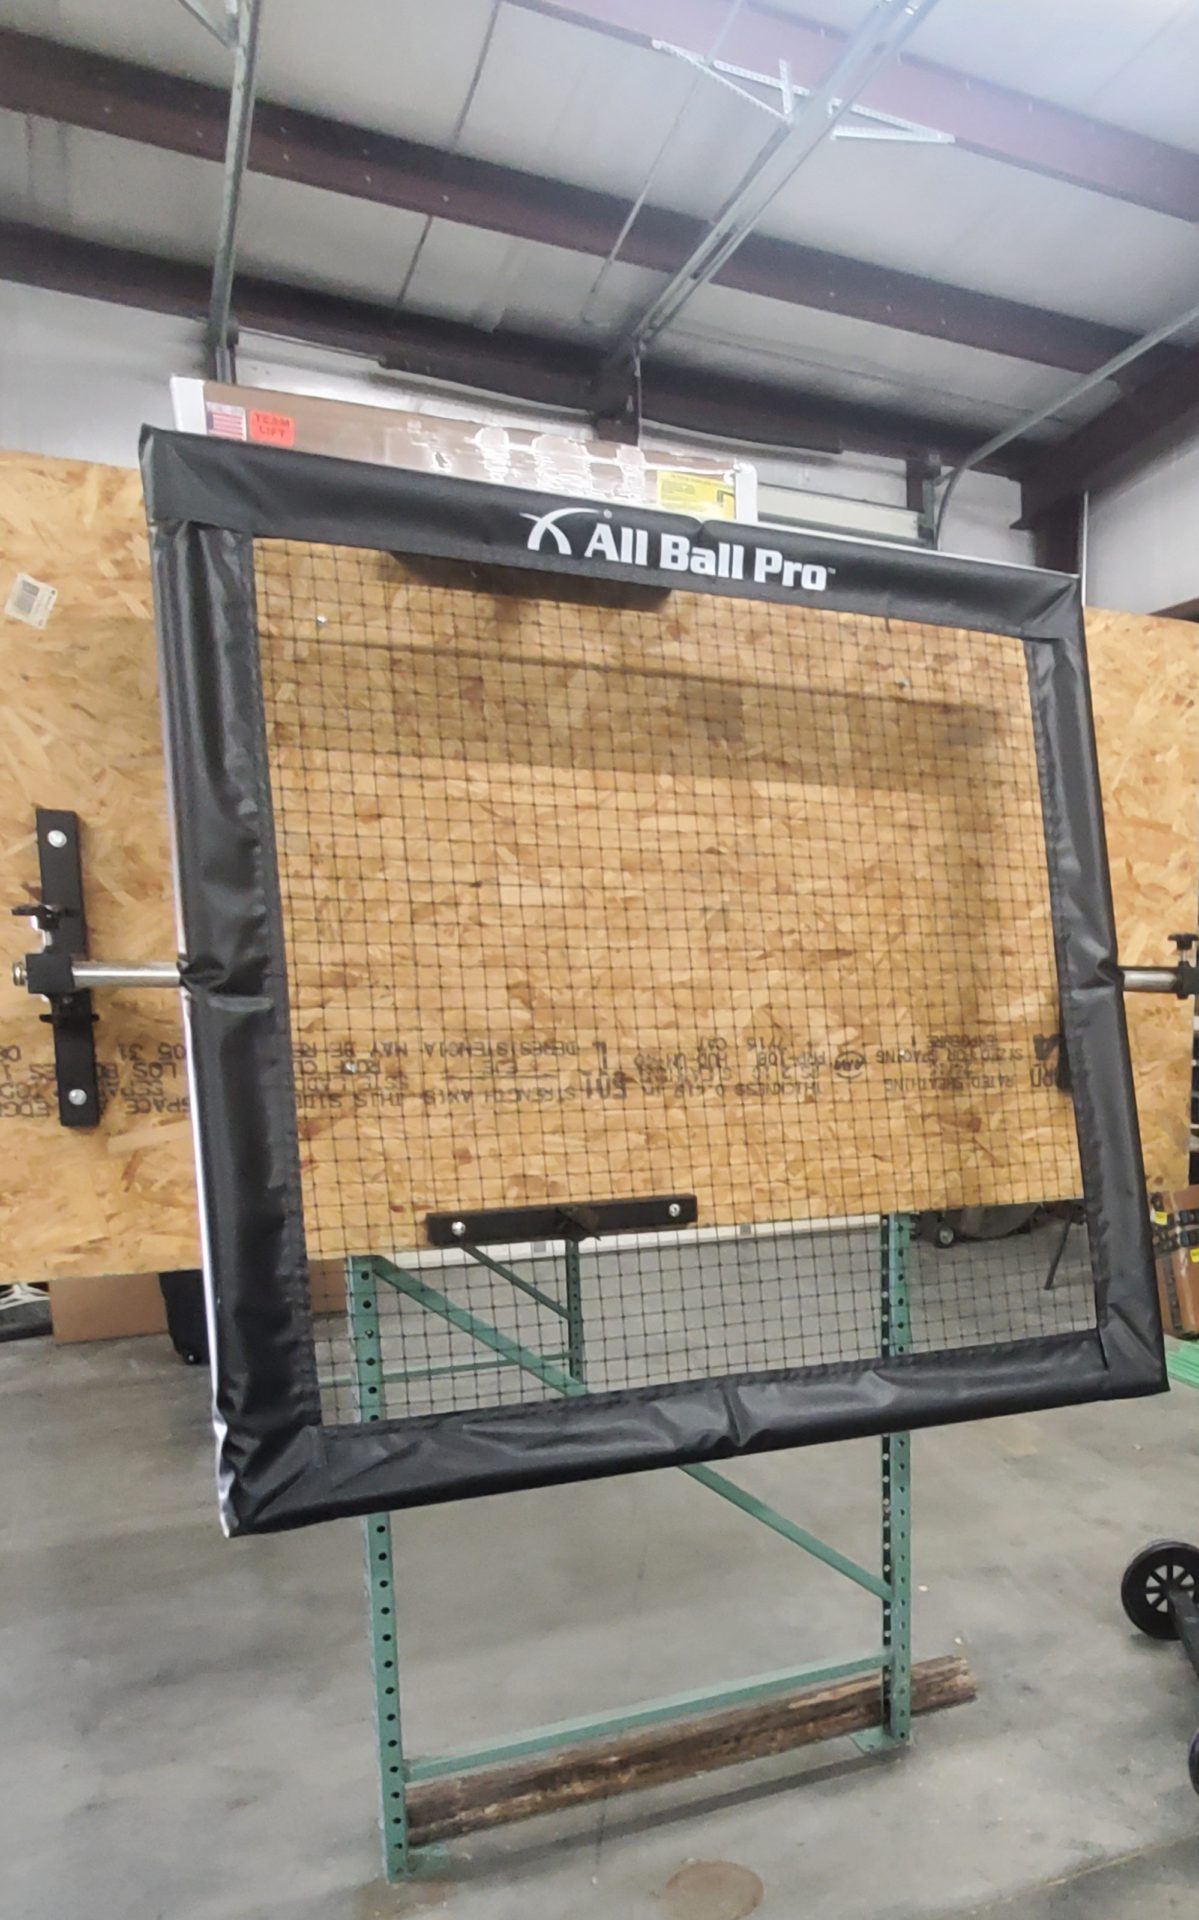
Introducing the All Ball Pro Wall Mount System, designed to enhance your sports experience effortlessly. The Wall Mount System works with Mini Pro, Stinger X, and Varsity units, making it the perfect addition to your setup. The Wall Mount System is easy to install*, with the included Toggle Bolt for secure mounting on various surfaces. If you have stone or brick walls, simply use anchors to accommodate the bolt. Safety is a priority, especially when using heavier Premier XL or Elite XL units. Consider seeking professional help if needed. Proudly made in the USA in St. Louis, Missouri, the Wall Mount System is crafted with care and precision to elevate your sports journey. Ready to elevate your sports setup? The All Ball Pro Wall Mount System is here to take your experience to the next level!
*Installation
- Select mounting location
- Mark 6 ft from ground (marks the bottom left corner)
- From mark 1, make another mark 15 inches above. (Use a level to make sure your line is straight)
- Measure from mark 1 (left bottom corner), 45 inches to the right to get your lower right corner
- Repeat step 3 for the second mark 15 inches above your lower. Using a level for accuracy
- Drill a pilot hole in the center at each mark
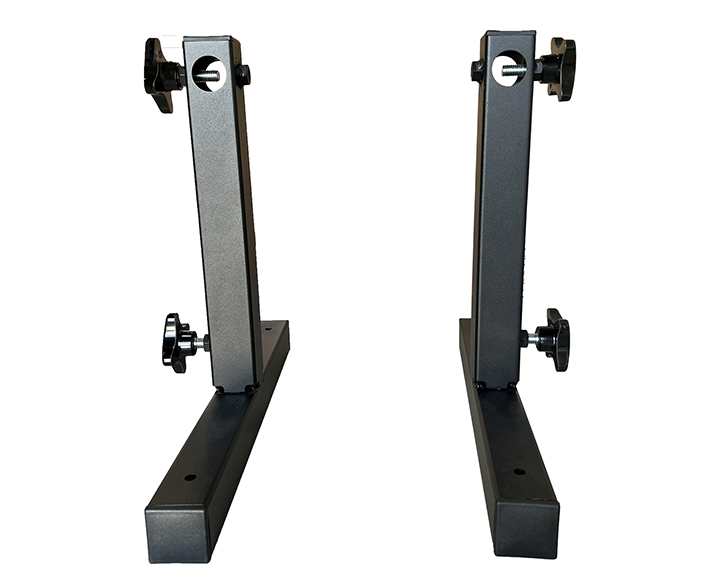
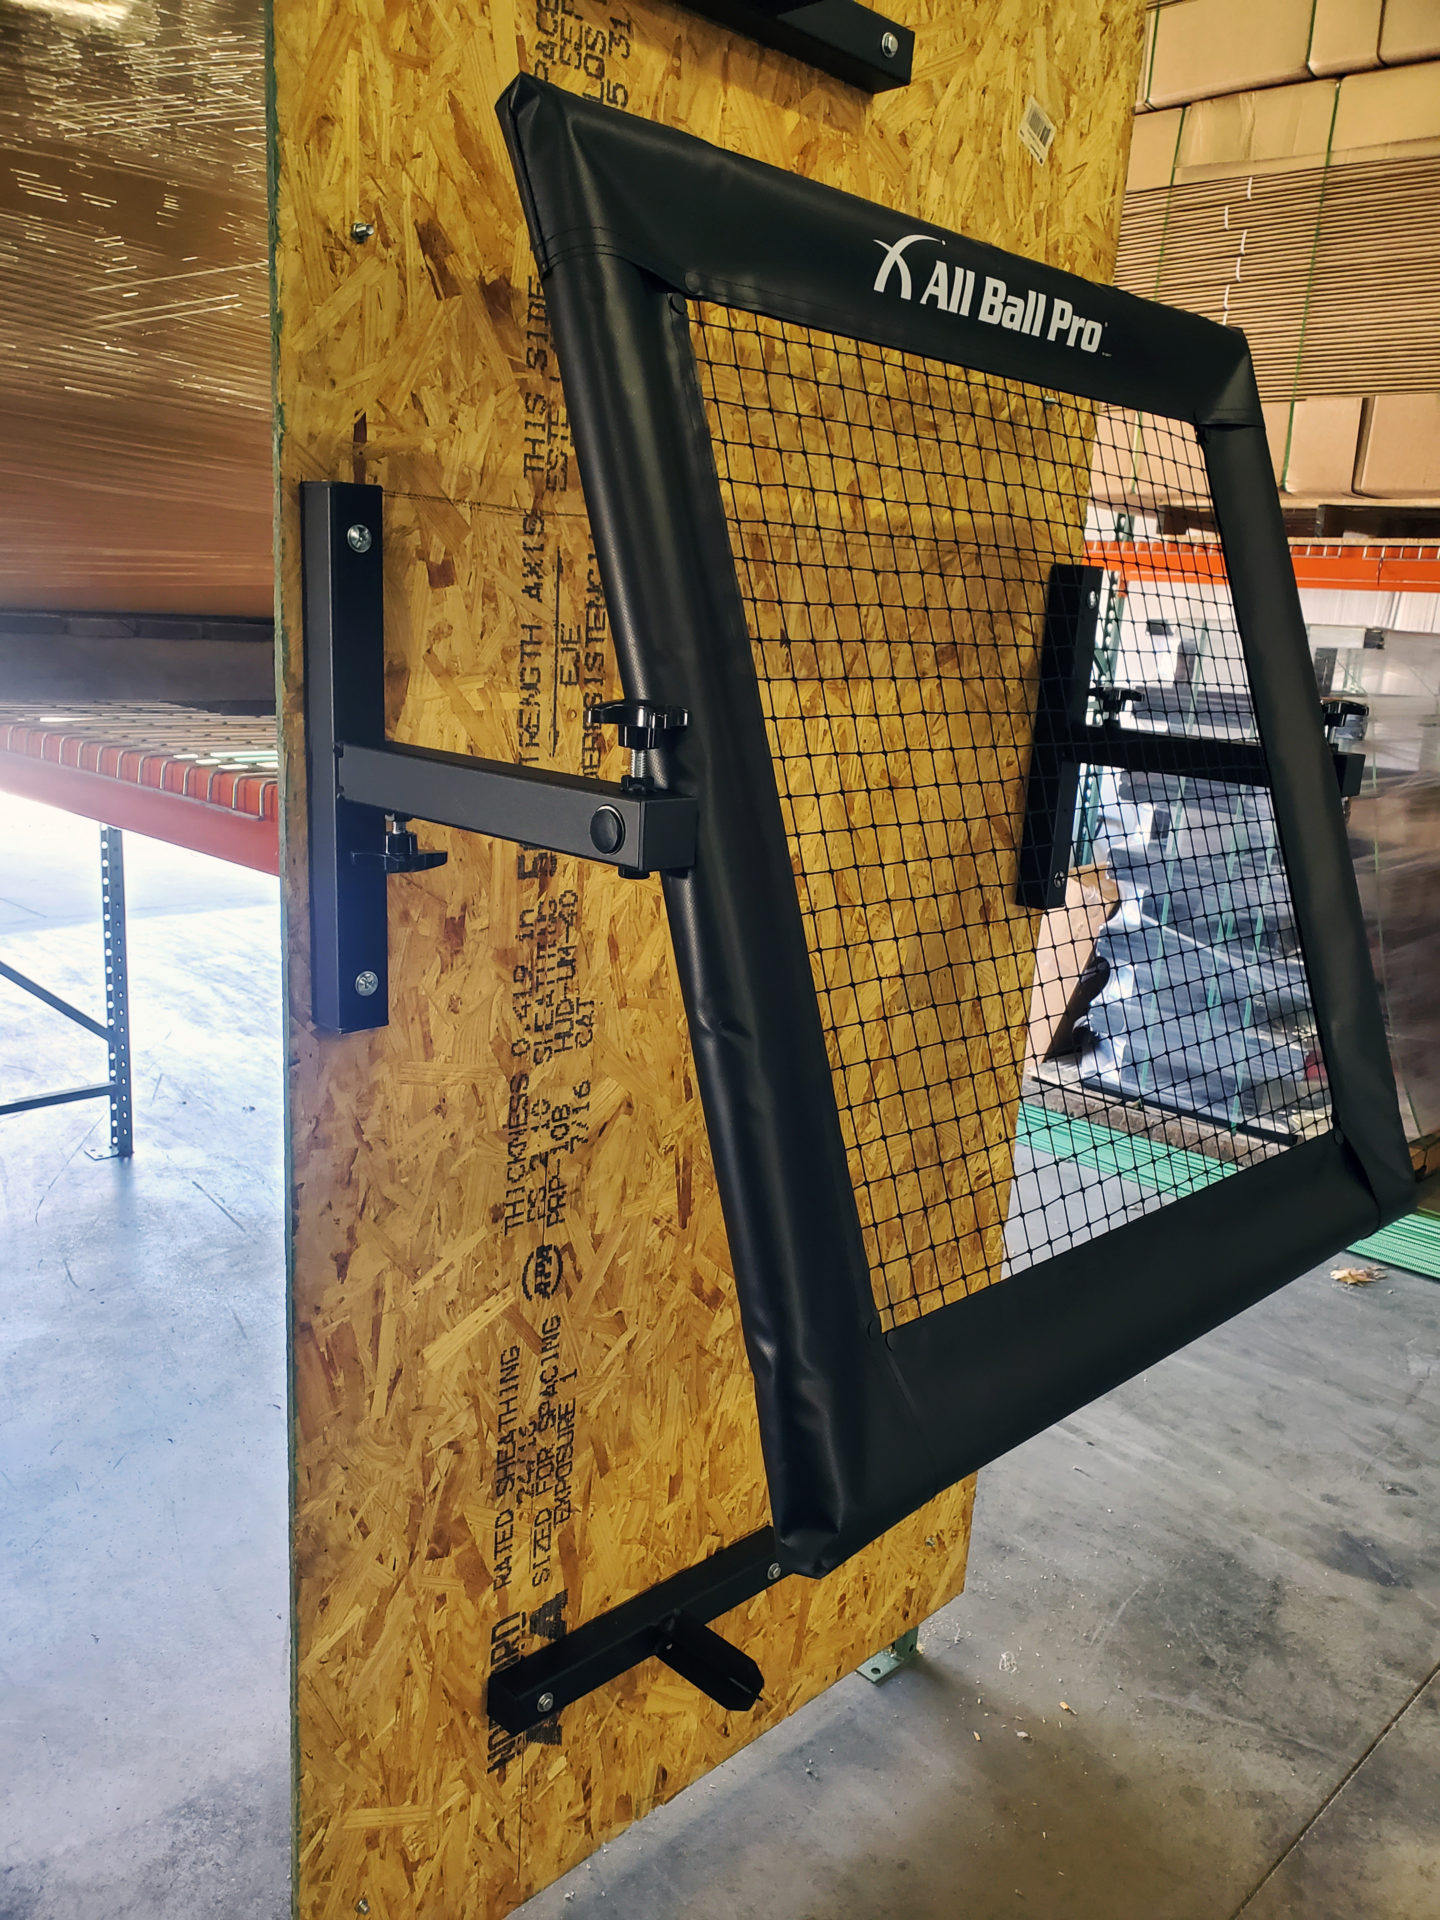
- Insert bolt through mounting hole and thread drywall anchor open to mounting bracket
- Push anchors through your drilled holes with the mount arm attached
- Level and tighten your bolts securing the mounting arms to the wall
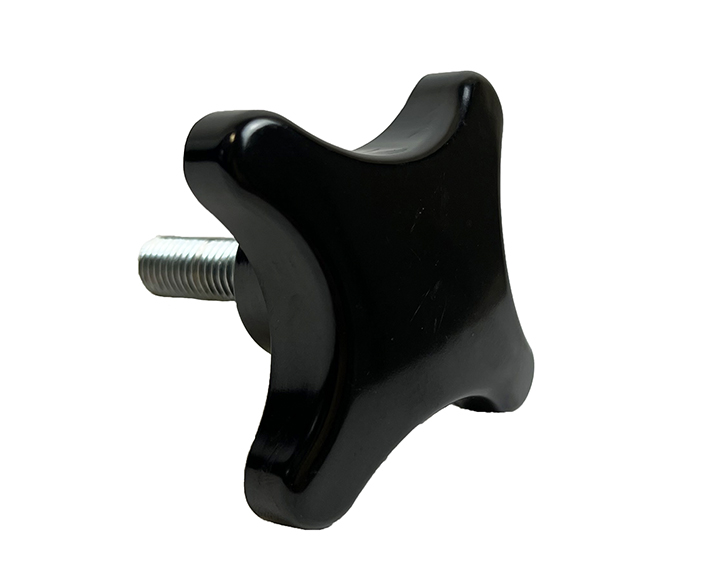
- Place slip arms on the rebounding system. NOTE: Be sure to have all wing bolts loose
- Get assistance lifting the rebounder to slide the arms into the mounts on the wall
- Tighten wing bolts to the desired position
- Enjoy the All Ball Pro Wall Mount System
Checkout this step by step video on how to install the Wall Mount System done by our friends over at Fantum Lacrosse!
$299.99
Description
Introducing the All Ball Pro Wall Mount System, designed to enhance your sports experience effortlessly. The Wall Mount System works with Mini Pro, Stinger X, and Varsity units, making it the perfect addition to your setup. The Wall Mount System is easy to install*, with the included Toggle Bolt for secure mounting on various surfaces. If you have stone or brick walls, simply use anchors to accommodate the bolt. Safety is a priority, especially when using heavier Premier XL or Elite XL units. Consider seeking professional help if needed. Proudly made in the USA in St. Louis, Missouri, the Wall Mount System is crafted with care and precision to elevate your sports journey. Ready to elevate your sports setup? The All Ball Pro Wall Mount System is here to take your experience to the next level!
*Installation
- Select mounting location
- Mark 6 ft from ground (marks the bottom left corner)
- From mark 1, make another mark 15 inches above. (Use a level to make sure your line is straight)
- Measure from mark 1 (left bottom corner), 45 inches to the right to get your lower right corner
- Repeat step 3 for the second mark 15 inches above your lower. Using a level for accuracy
- Drill a pilot hole in the center at each mark
- Insert bolt through mounting hole and thread drywall anchor open to mounting bracket
- Push anchors through your drilled holes with the mount arm attached
- Level and tighten your bolts securing the mounting arms to the wall
- Place slip arms on the rebounding system. NOTE: Be sure to have all wing bolts loose
- Get assistance lifting the rebounder to slide the arms into the mounts on the wall
- Tighten wing bolts to the desired position
- Enjoy the All Ball Pro Wall Mount System
Checkout this step by step video on how to install the Wall Mount System done by our friends over at Fantum Lacrosse!
Additional information
| Weight | 16 lbs |
|---|---|
| Dimensions | 20 × 10 × 5 in |